DIY outdoor mat
I’ve wanted a DIY outdoor mat forever but I kept delaying it. I finally kicked my fears to the curb and did it. I am so happy that I did because I love the way my mat turned out. How amazing is this?! It is so much easier than it looks. I may DIY an outdoor mat for every season because the possibilities are endless! There are no images on this mat but you can definitely add images etc. and really jazz this up!
I made this outdoor mat for myself but this can also be a great gift idea for friends and family for any occasion!
Below are step by step instructions to help you with your DIY outdoor mat project.
[/vc_column_text][/vc_column][/vc_row]
Here are the supplies I used:
- Cricut Maker
- Outdoor mat: Coir (Coco) mat (18 inches by 30 inches and 1 inch thick) I purchased it on Amazon
- Paint brush
- Acrylic Outdoor Paint
- Transfer tape
- Cricut Vinyl
Step 1
Create message
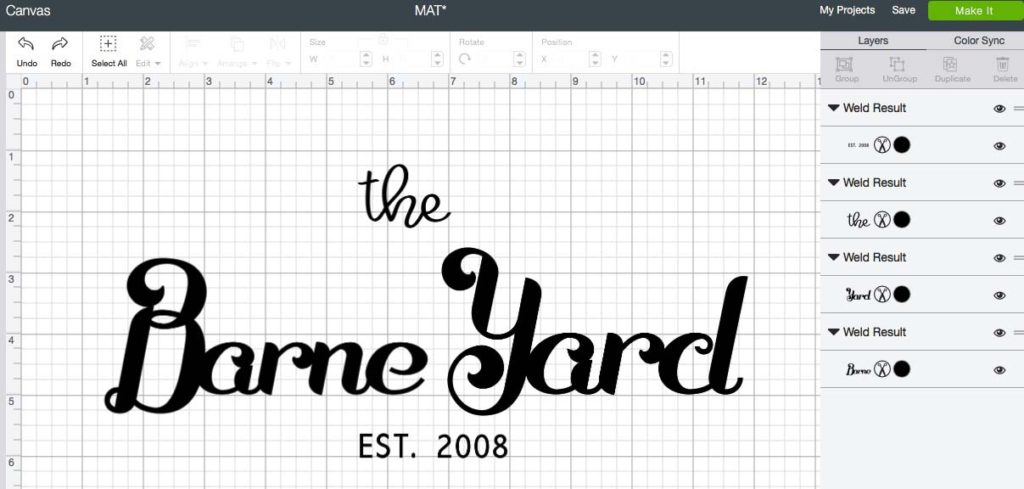
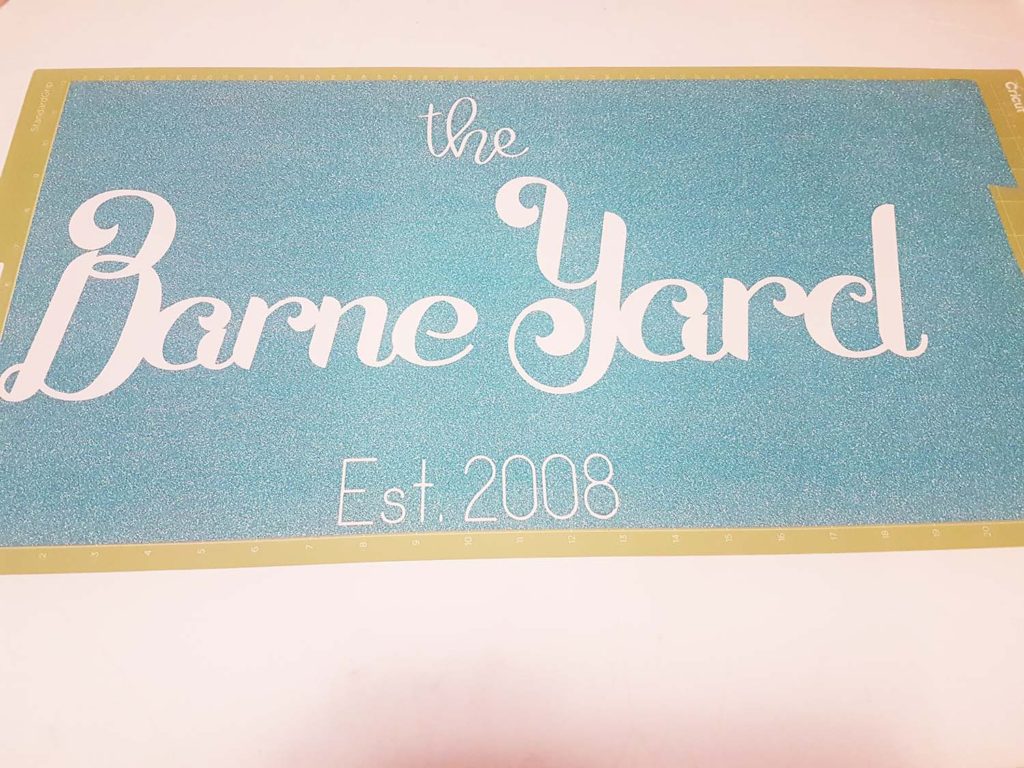
Step 2
Cut then weed
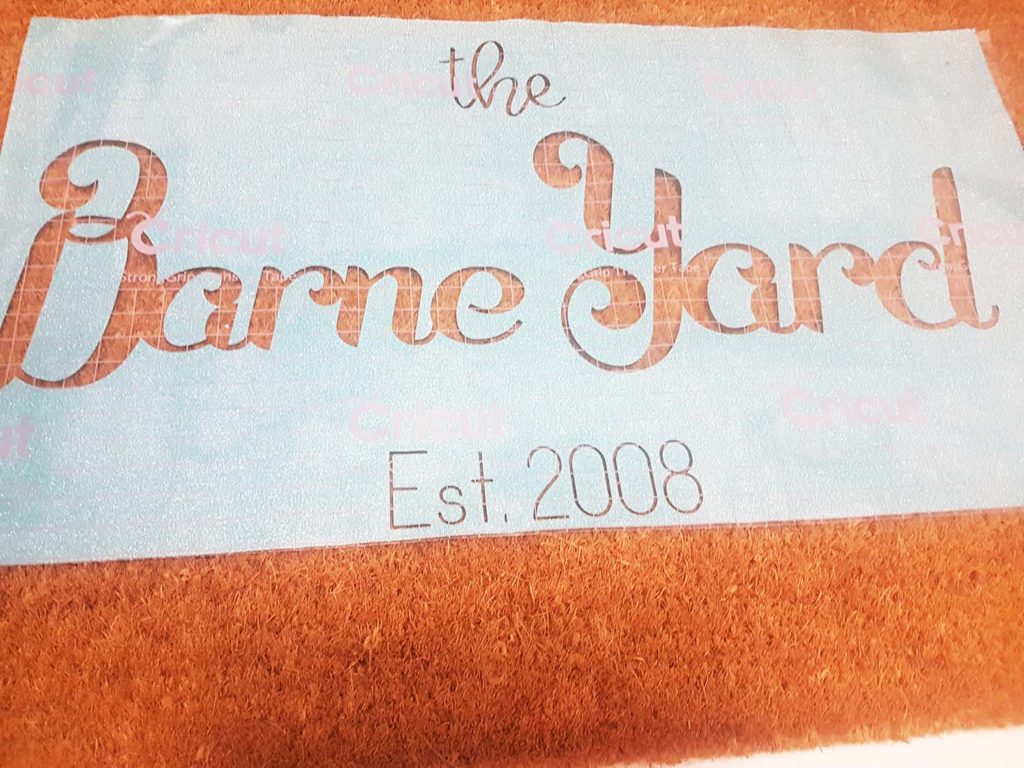
Step 3
Apply transfer tape
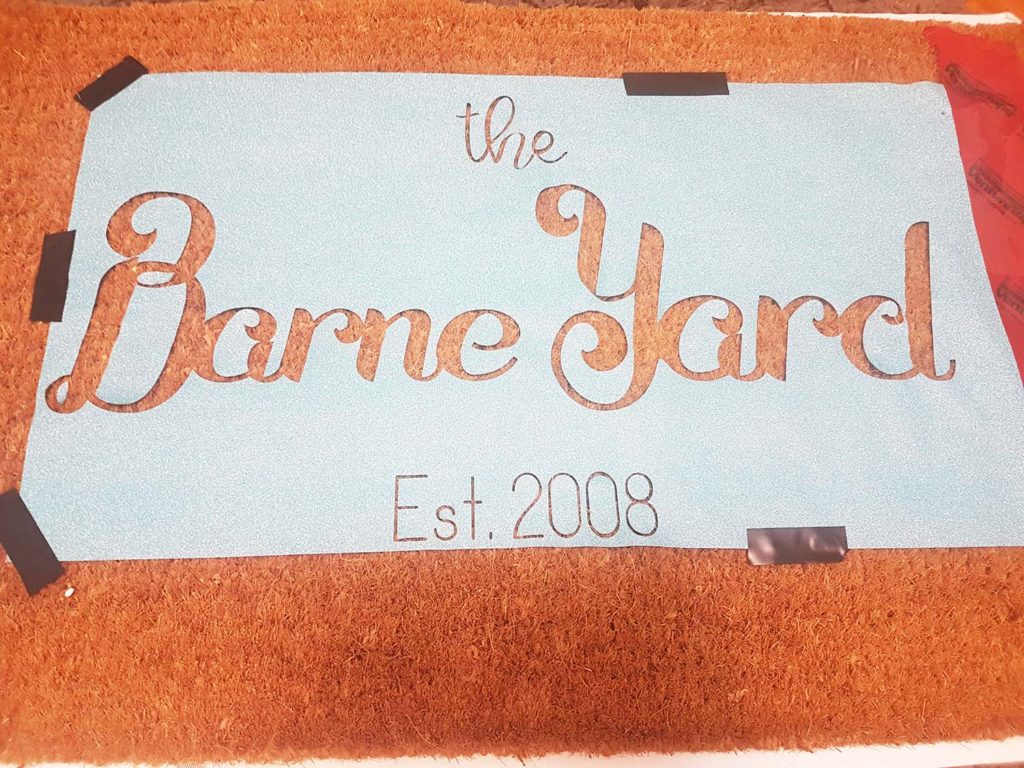
Step 4
Tape vinyl on mat
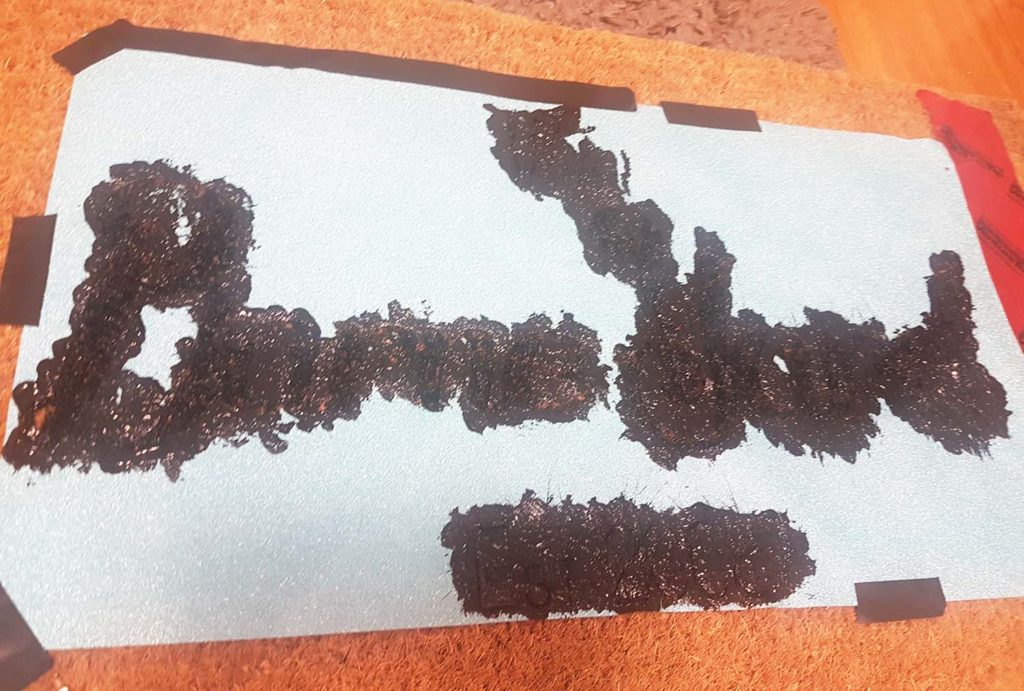
Step 5
Apply paint and allow drying
Steps 6
Remove vinyl
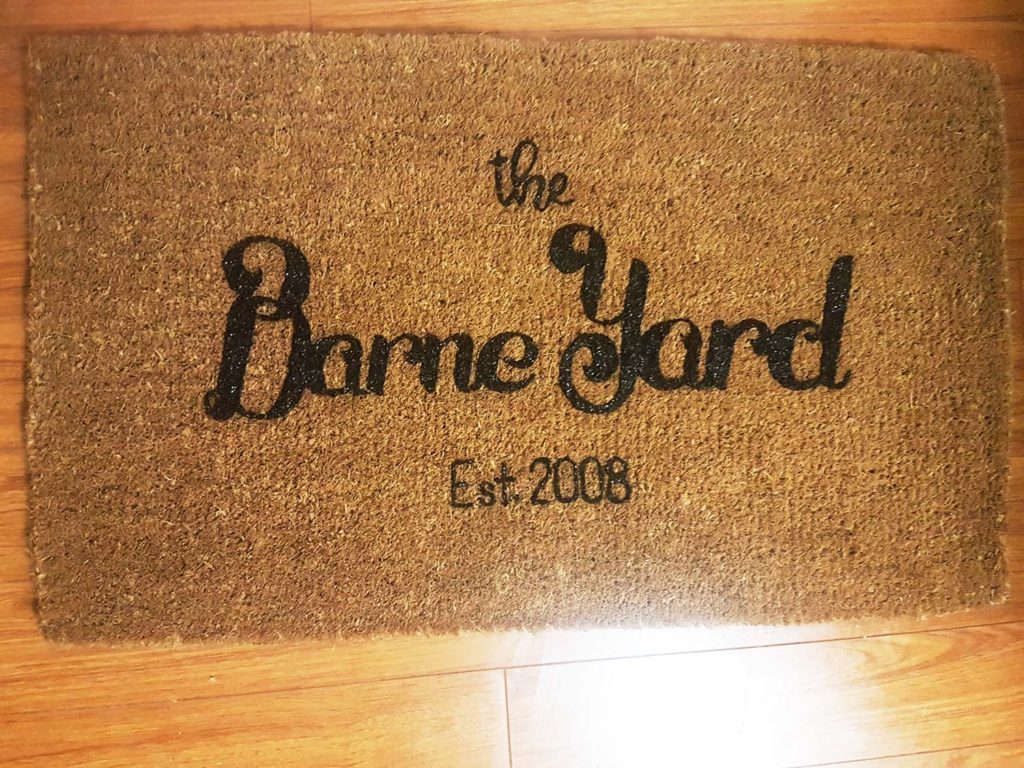
You did it!
Thank you for stopping by! If you have any questions or comments please leave them below.

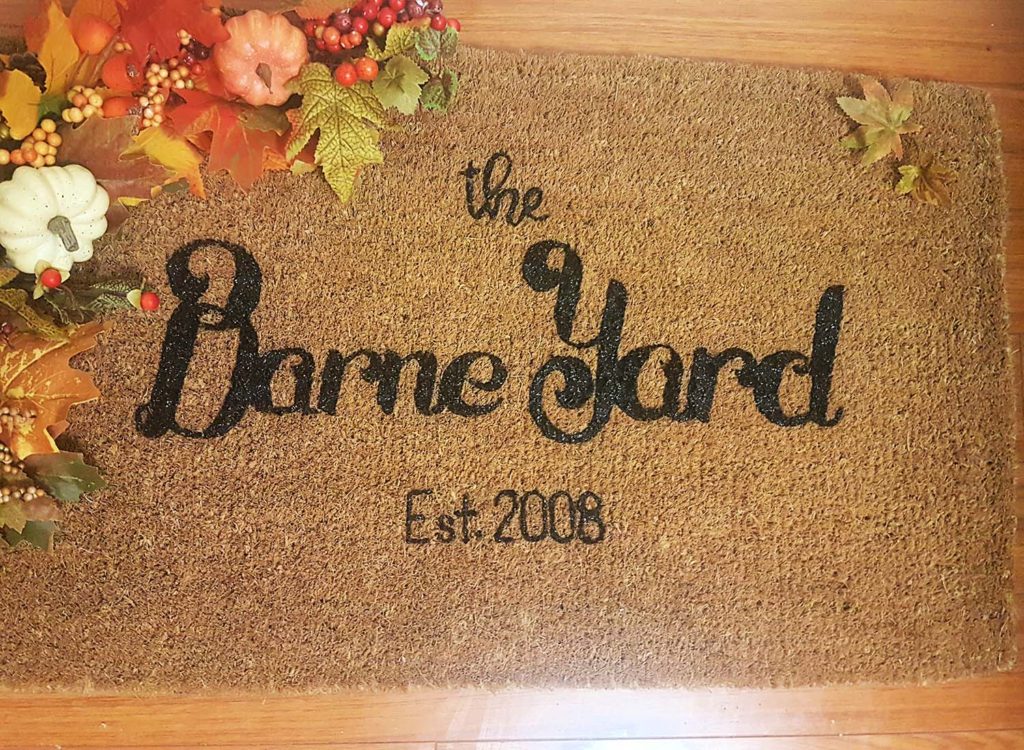
So creative! I love it! Who knew these were so simple to make.
Right! I’m trying to resist the urge to make one for Christmas! I love seeing it at my front door!
Beautiful!
Thank you!