Cricut Maker: Let’s make a Print then Cut shirt
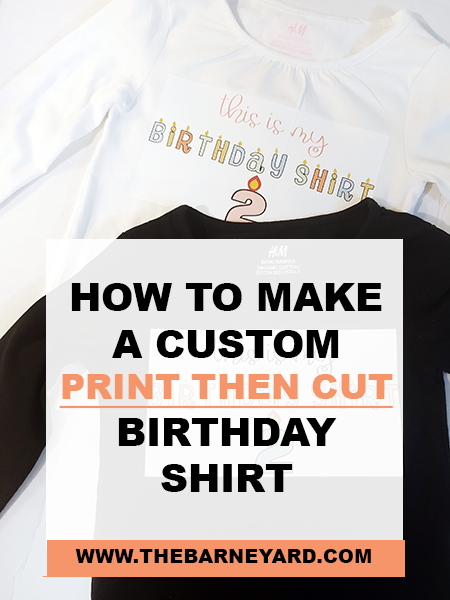
Learn how to make a custom shirt using the Print then Cut feature on the Cricut Maker!
I finally got around to making a print then cut shirt for my kids. Have you seen Rihanna’s birthday hoodie that says “It’s my birthday and all I got was this oversized hoodie from Vetements? I absolutely love the message on Rihanna’s hoodie so it was the inspiration behind the birthday shirts I made for my 2 year old twins.
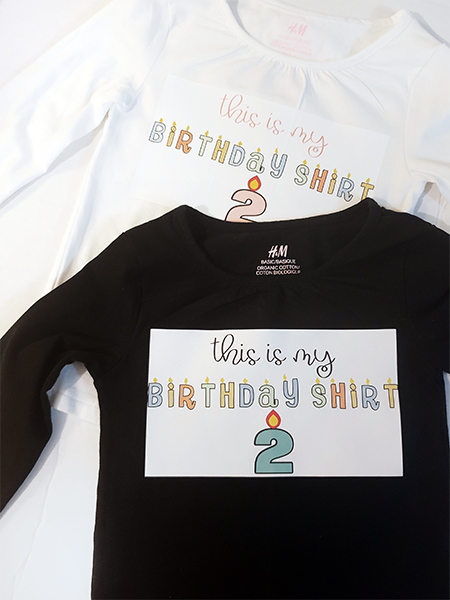
I love the idea so much I decided to make one for each of my children every year as our own family tradition. So no, I am not telling you to run out and buy the Vetements hoodie, instead, I will teach you how to make a Print then Cut custom birthday shirt that will make someone feel really special on their birthday. It is so easy!
Let me show you how to make these Print then Cut custom birthday shirts using the Cricut Maker.
The materials I used for Print then cut shirt:
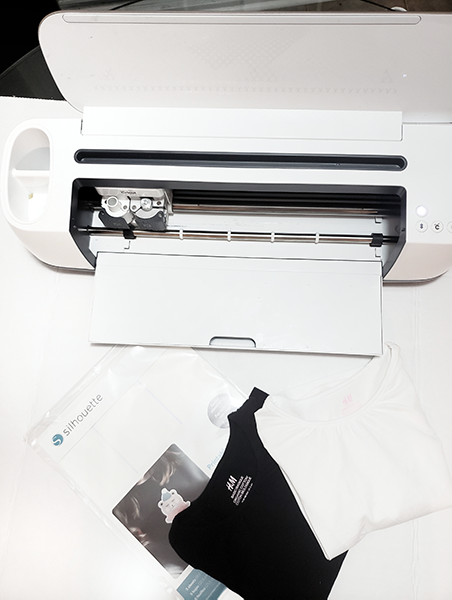
- 100% Cotton T-shirts in White and Black
- Printable iron-on transfer material for dark fabrics by Silhouette
- Cricut Maker
- Cricut Easy Press or an iron
- Inkjet Printer
- A towel/ Easy Press Mat
STEP ONE:
Create or upload the SVG design you will be using in Cricut Design Space
STEP TWO:
STEP THREE:
Use your Cricut machine (or any cutting machine) to cut out your design. You should be left with only the portion of the design that will be ironed on the t-shirt. Please make sure to read the instructions that are inside the printable iron-on package.
STEP 4:
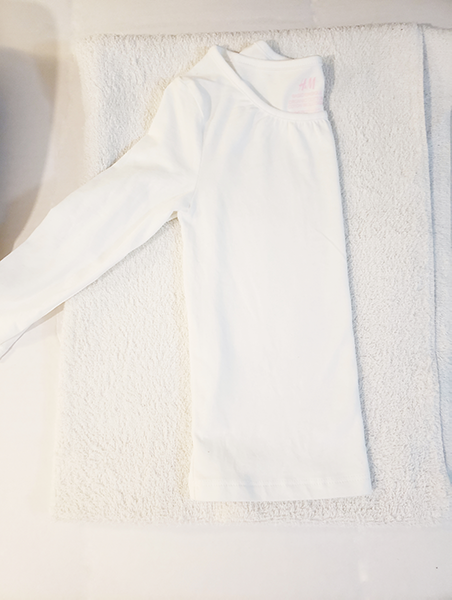
Fold t-shirt in half and iron to create a crease/straight line. Use this line as a guide to assist with getting a straight alignment between the t-shirt and your design.
STEP 5:
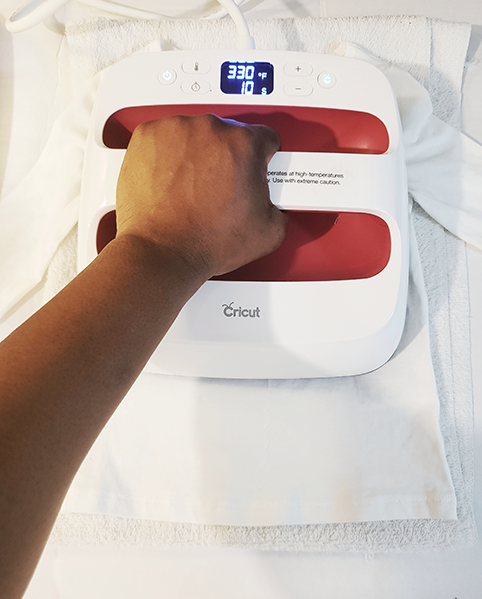
Power on your EasyPress and change the temperature and time on your EasyPress based on the guideline available at here. Please note the settings differ if you are using a towel or an EasyPress Mat.
STEP 6:
Press the t-shirt. I am pressing a 100% cotton t-shirt so I will adjust my settings to 330F (165C) and I will press for 30 Seconds once my EasyPress is ready. The guideline also suggests I flip the t-shirt and press it on its back too.
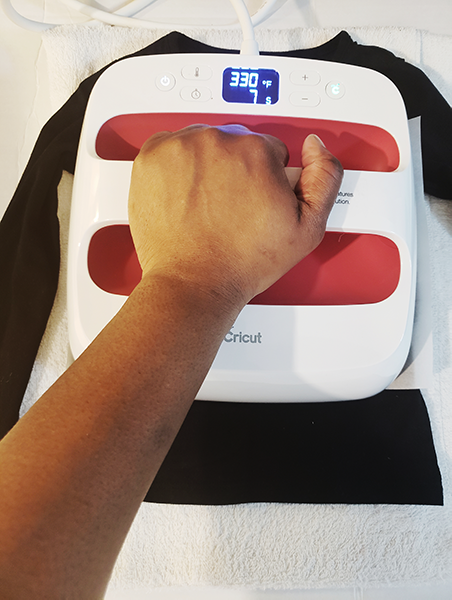
STEP SEVEN: ENJOY THE PRINT THEN CUT SHIRT
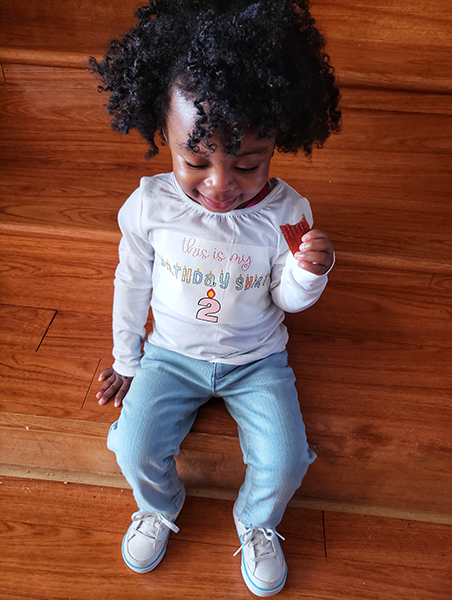
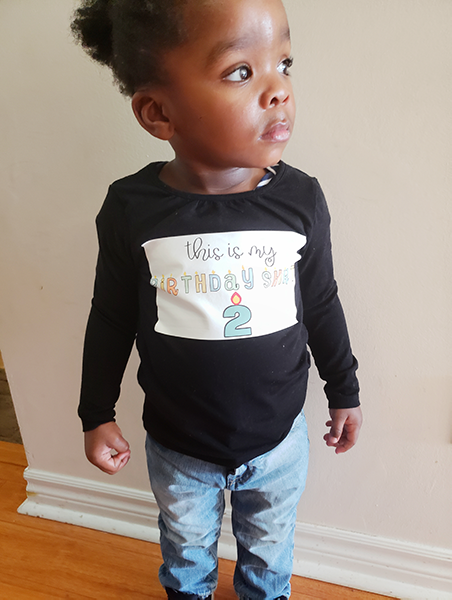
As I outlined above, 7 easy steps are create/upload the design in Cricut Design Space, Print then Cut using Printable iron-on transfer material, iron the material on the shirt using the EasyPress or an iron, and that’s it!
I made the custom birthday shirts for 2 year olds, but it can easily be made for a teenager or an adult.
I made the custom birthday shirts for 2 year olds, but it can easily be made for a teenager or an adult. In fact, when my sister saw the pictures of their shirts she asked if I could make one for her birthday too. Let’s just say she’s already celebrated her dirty 30.
Wasn’t that easy?! Leave me a comment and tell me know about the iron-on projects you’re crushing!
PIN ME FOR LATER IF DON’T HAVE TIME NOW TO DO THIS PROJECT!


0 Comments on “Cricut Maker: Let’s make a Print then Cut shirt”